Every Land Rover that leaves our workshop has been transformed from the ground up. Here is a step-by-step look at the craftsmanship behind every Art & Custom build.
Complete teardown and systematic documentation
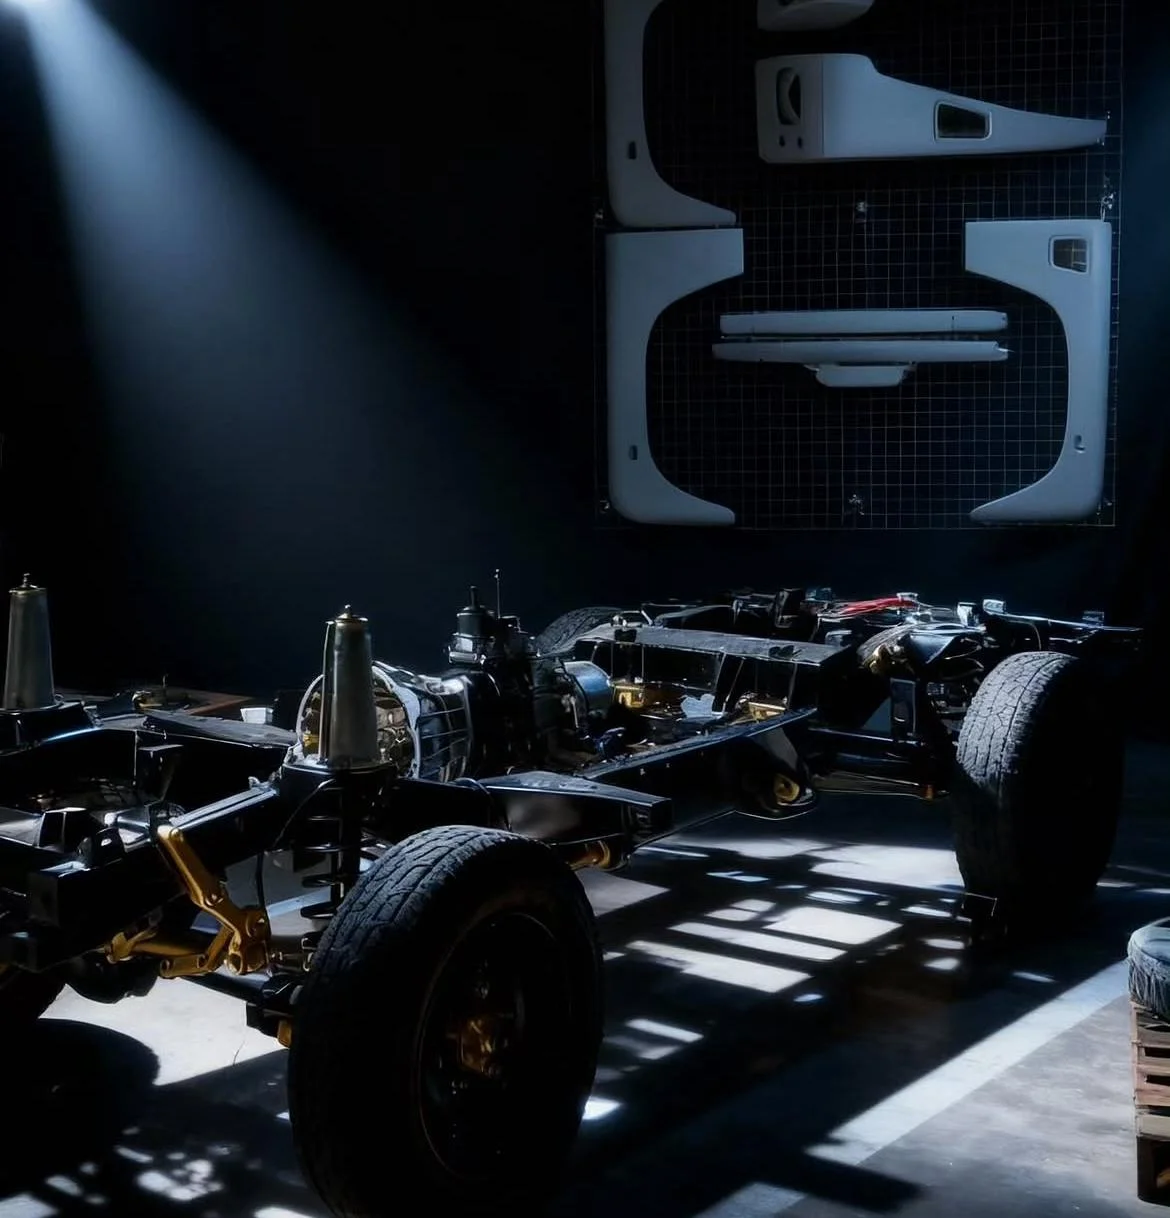
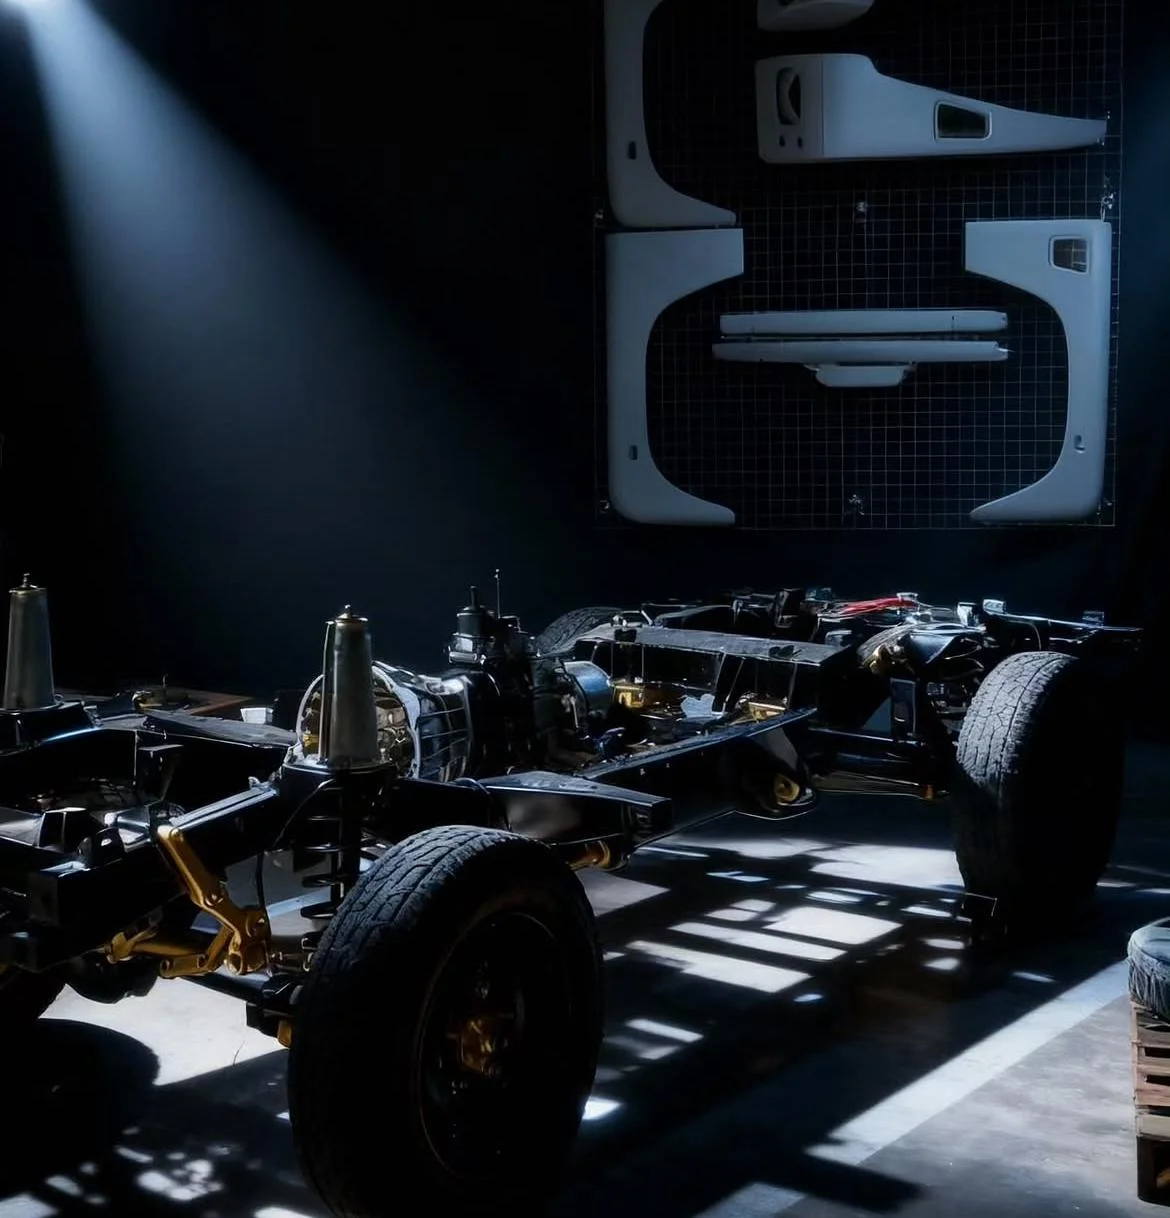
Before a single bolt is removed, the vehicle is fully photographed in its original state — every panel gap, weld seam, cable routing, and component position is documented. The vehicle is then raised on a four-post lift and stripped systematically from the outside in: glass, trim, interior panels, electrical harness, drivetrain, body panels, and finally the body from the chassis. Every removed part is cleaned, individually labelled, condition-graded (keep / restore / replace), and stored in dedicated trays and racks. Hinges, brackets, and fittings are marked with their exact position so every detail is recreated faithfully at reassembly. By the end of this stage the bare chassis sits on a rotisserie jig — and the full scope of the restoration is precisely defined with zero guesswork.
Deep cleaning and surface profiling
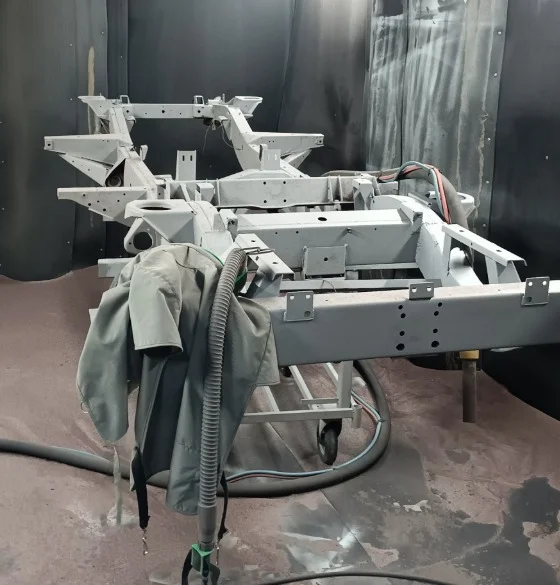
Sandblasting is carried out in a fully enclosed blast cabinet to control media and prevent cross-contamination. The abrasive is selected to match the material: steel grit at 6–9 bar for chassis rails, axle casings, and structural brackets; glass bead or garnet at lower pressure for aluminium panels and cast-iron components. The target surface profile is SA 2.5 to SA 3 (Swedish Standard) — the grade required for high-adhesion protective coatings to bond properly. Internal box sections, blind areas, and chassis junctions are treated individually to ensure no untreated surface survives. The result is bare, bright metal with the ideal micro-roughness for mechanical bonding — a non-negotiable starting point for every coating that follows.
Thermally sprayed zinc — sacrificial corrosion protection
Immediately after blasting — while the surface is completely free of oxidation — the chassis receives thermal arc-spray zinc metallization. Pure zinc wire is melted above 1,000 °C and propelled at high velocity onto the steel, building a dense coating of 80 to 120 microns. This layer acts as a sacrificial anode: even if the topcoat is scratched through to bare metal, the surrounding zinc corrodes preferentially, actively shielding the steel underneath. Bond strength of thermally sprayed zinc exceeds 10 MPa — far superior to cold galvanizing paints or zinc-rich primers. This single step is the most important anti-corrosion measure in the entire build, giving our chassis a service life measured in decades rather than years.
Uniform corrosion protection for every fastener
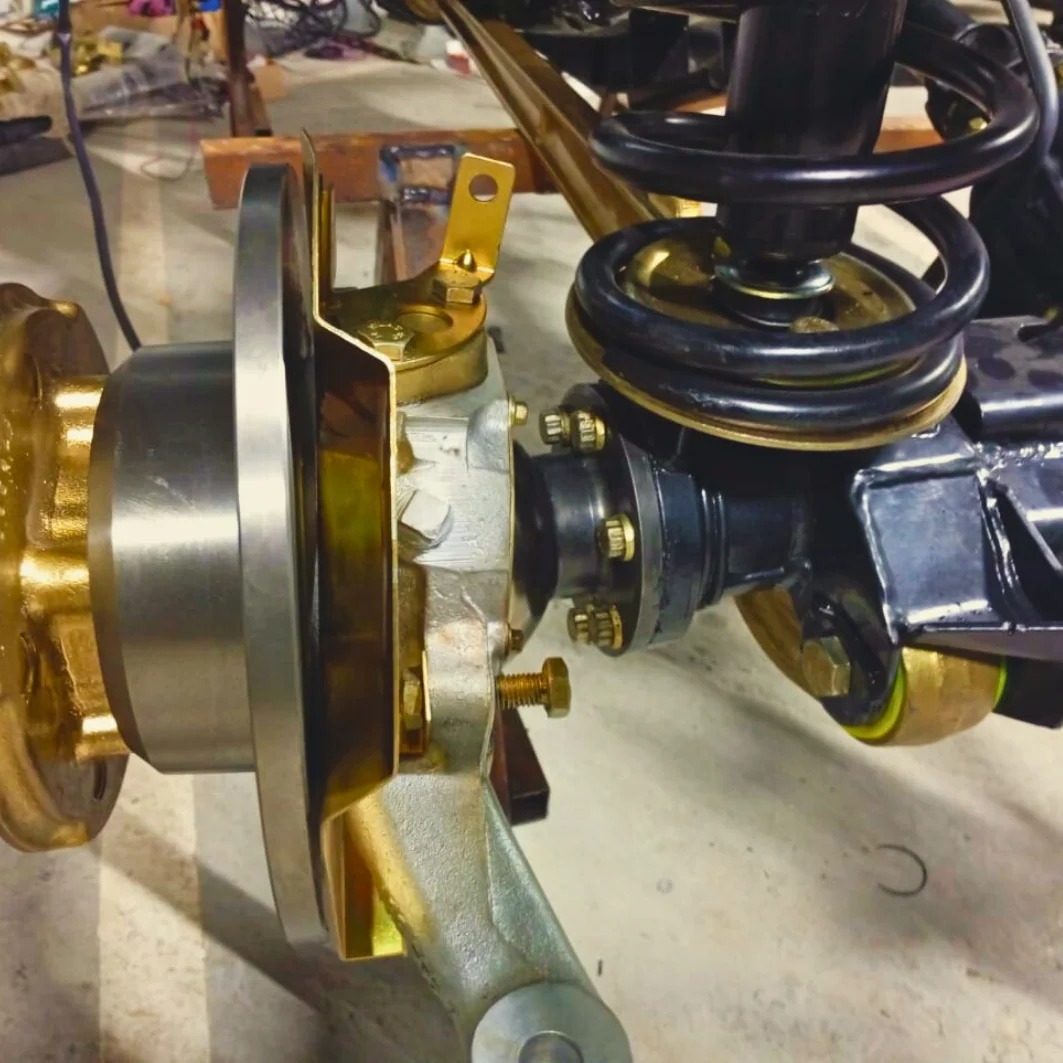
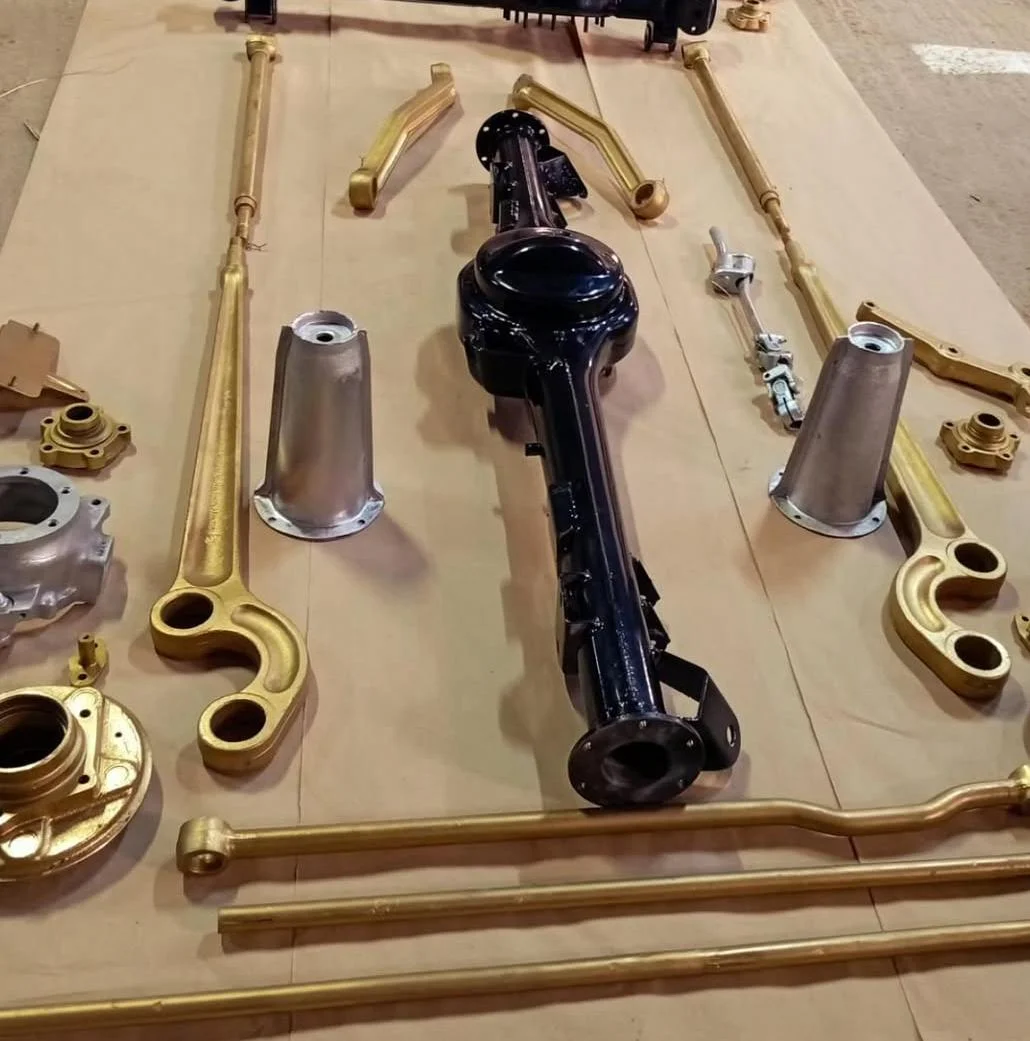
Every piece of ferrous hardware used in the build — bolts, nuts, washers, brackets, retaining clips, cable mounts — is sent for electrolytic zinc plating before installation. Parts are degreased in an alkaline bath, acid-pickled to remove residual oxide, then immersed in a zinc-sulfate electrolytic bath where a controlled current deposits a uniform zinc layer of 8 to 12 microns across every surface. Yellow chromate passivation is then applied, providing a secondary chemical barrier. Each fastener meets the specification: minimum 96 hours to white corrosion, 240 hours to red corrosion in salt spray (ISO 9227). This standard of protection matters — untreated or pattern hardware is the first thing to corrode visibly on a restored vehicle, and we consider it unacceptable on any build that leaves our workshop.
Self-healing surface treatment for selected hardware
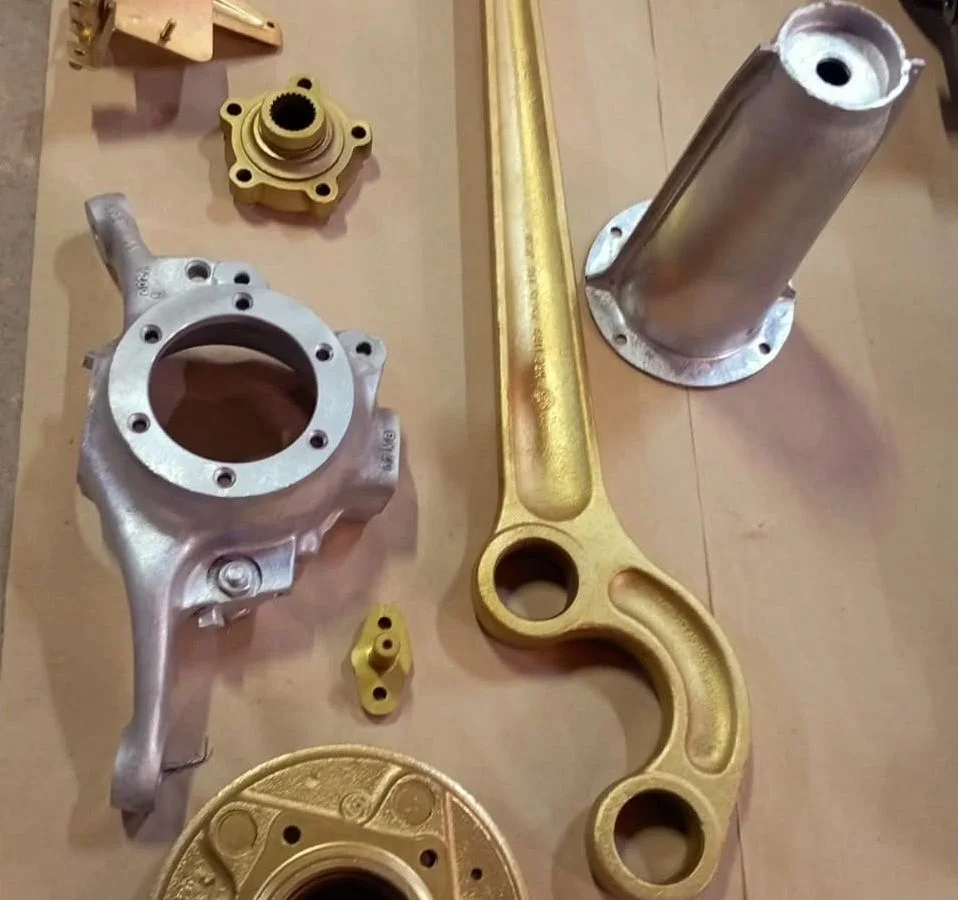
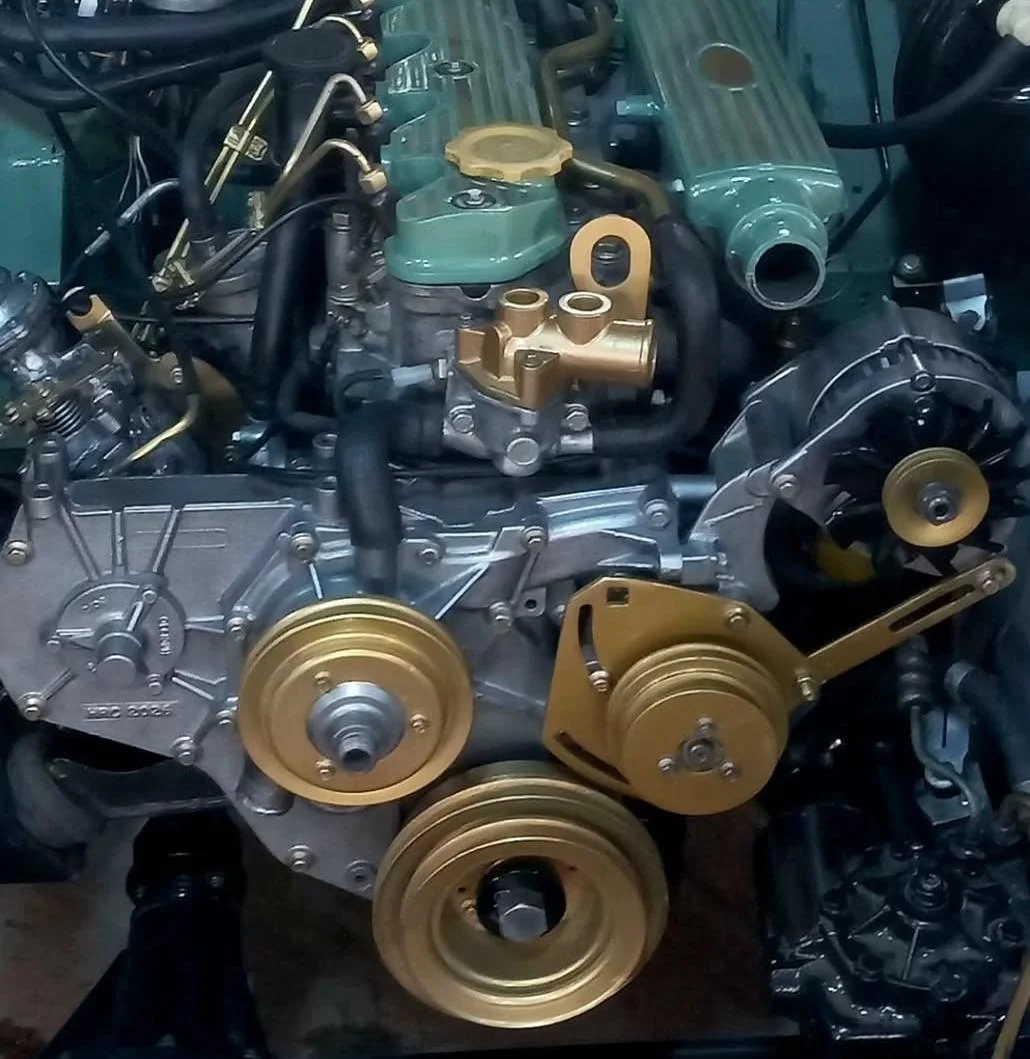
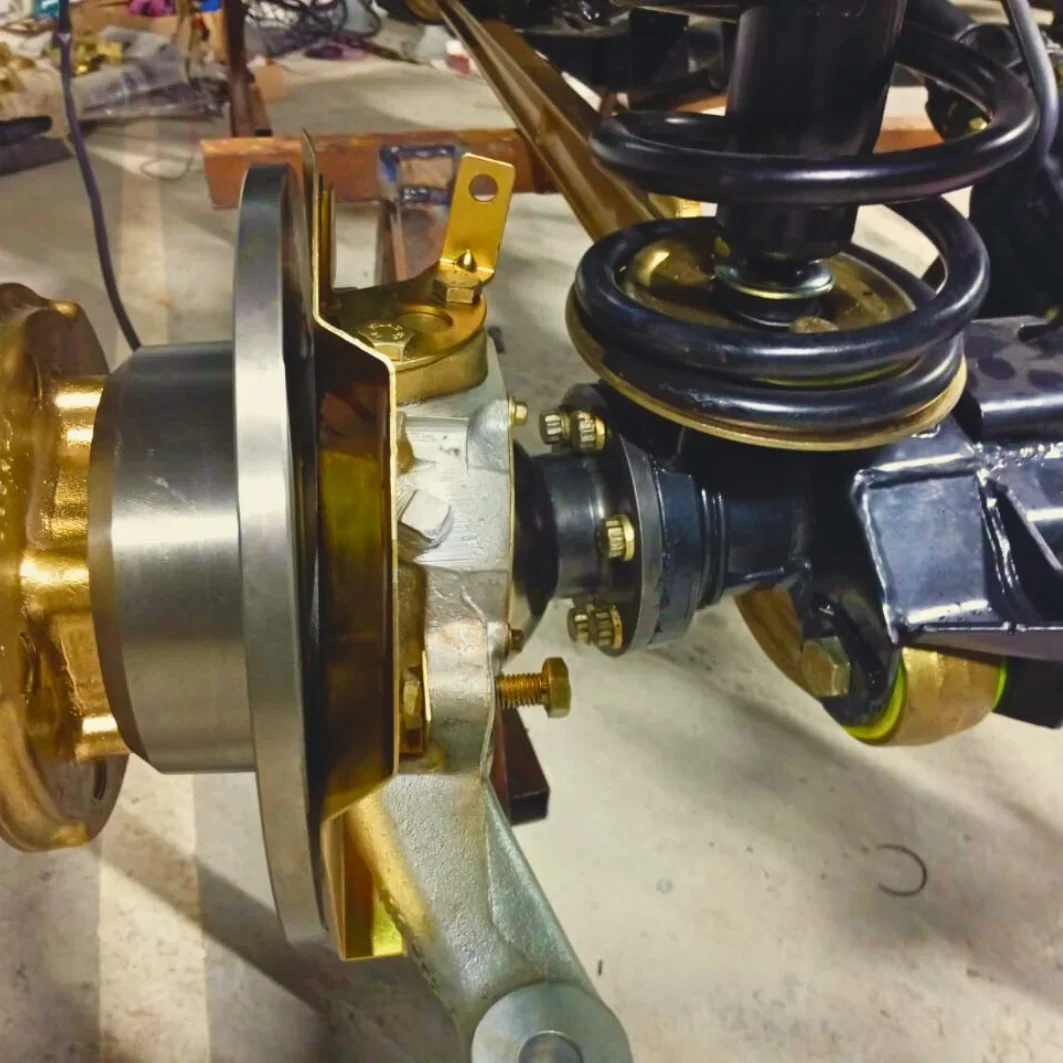
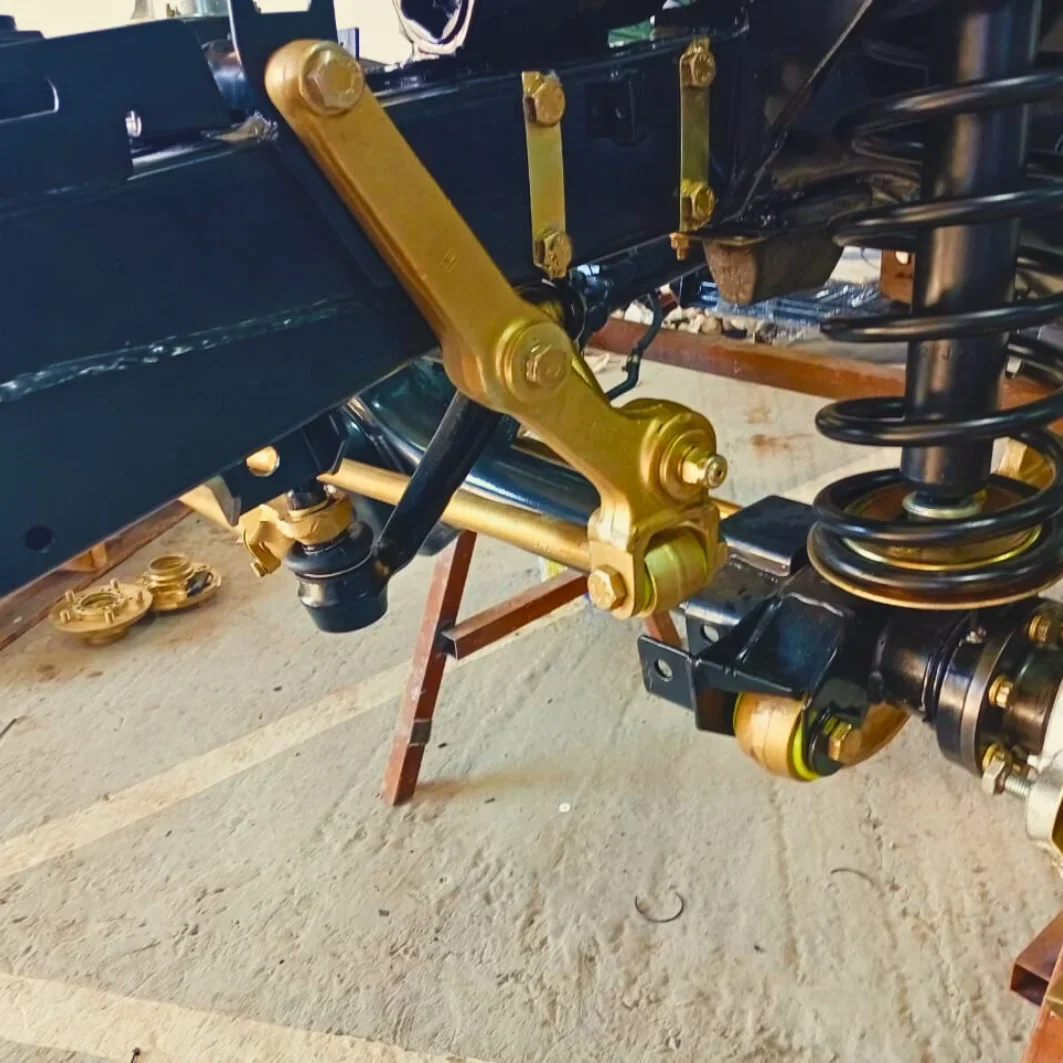
Springs, small pressed-steel brackets, decorative fittings, and selected engine-bay hardware receive a chromate conversion coating — a chemical treatment that reacts with the zinc surface to form a thin, integrated film of 0.5 to 3 microns. Unlike paint, this layer is part of the metal itself: it cannot peel, chip, or delaminate, and it self-heals at minor scratches in the presence of moisture. The distinctive iridescent golden-yellow appearance confirms correct passivation depth. Where modern environmental regulations apply, we use trivalent chromate (Cr³⁺) rather than hexavalent (Cr⁶⁺), meeting RoHS and REACH compliance. On parts visible in the engine bay or chassis, this finishing step also restores the factory-correct appearance that original Land Rover components carried when new.
No service-life component is ever reused
Every item with a defined wear limit is replaced as a policy — regardless of how it looks on inspection:
Parts are sourced from OEM suppliers or specialist performance suppliers depending on build specification. Pattern parts of unknown origin are never used.
Full measurement, machining, and assembly to specification
The engine is fully disassembled and every dimension is measured before any part is re-ordered or reused:
The rebuilt engine is run on a test bench before installation — oil pressure, coolant temperature, and absence of smoke are verified at idle and under load.
Rebuild to factory bearing preloads and backlash values
The gearbox, transfer case, and both axle differentials are disassembled, cleaned ultrasonically, and inspected under magnification for wear, scoring, and fatigue cracking on gear teeth and bearing races. Synchromesh rings are measured against the Borg Warner or Land Rover service limit — any ring below specification is replaced. Input and output shaft bearings, selector forks, detent balls and springs, and all oil seals are renewed without exception. The transfer case's high/low range mechanism and differential lock are rebuilt and adjusted to factory shift effort. Each unit is assembled with the correct shim pack to achieve specified bearing preloads and gear backlash, verified with a dial gauge before the casing is sealed. Final fill uses the correct grade of GL4 or GL5 oil to manufacturer specification.
Full system rebuild with four-wheel laser alignment
Braking and suspension are treated as a single integrated safety system, rebuilt from the ground up:
Stopping distance and pedal feel are verified on a brake roller dynamometer before road test.
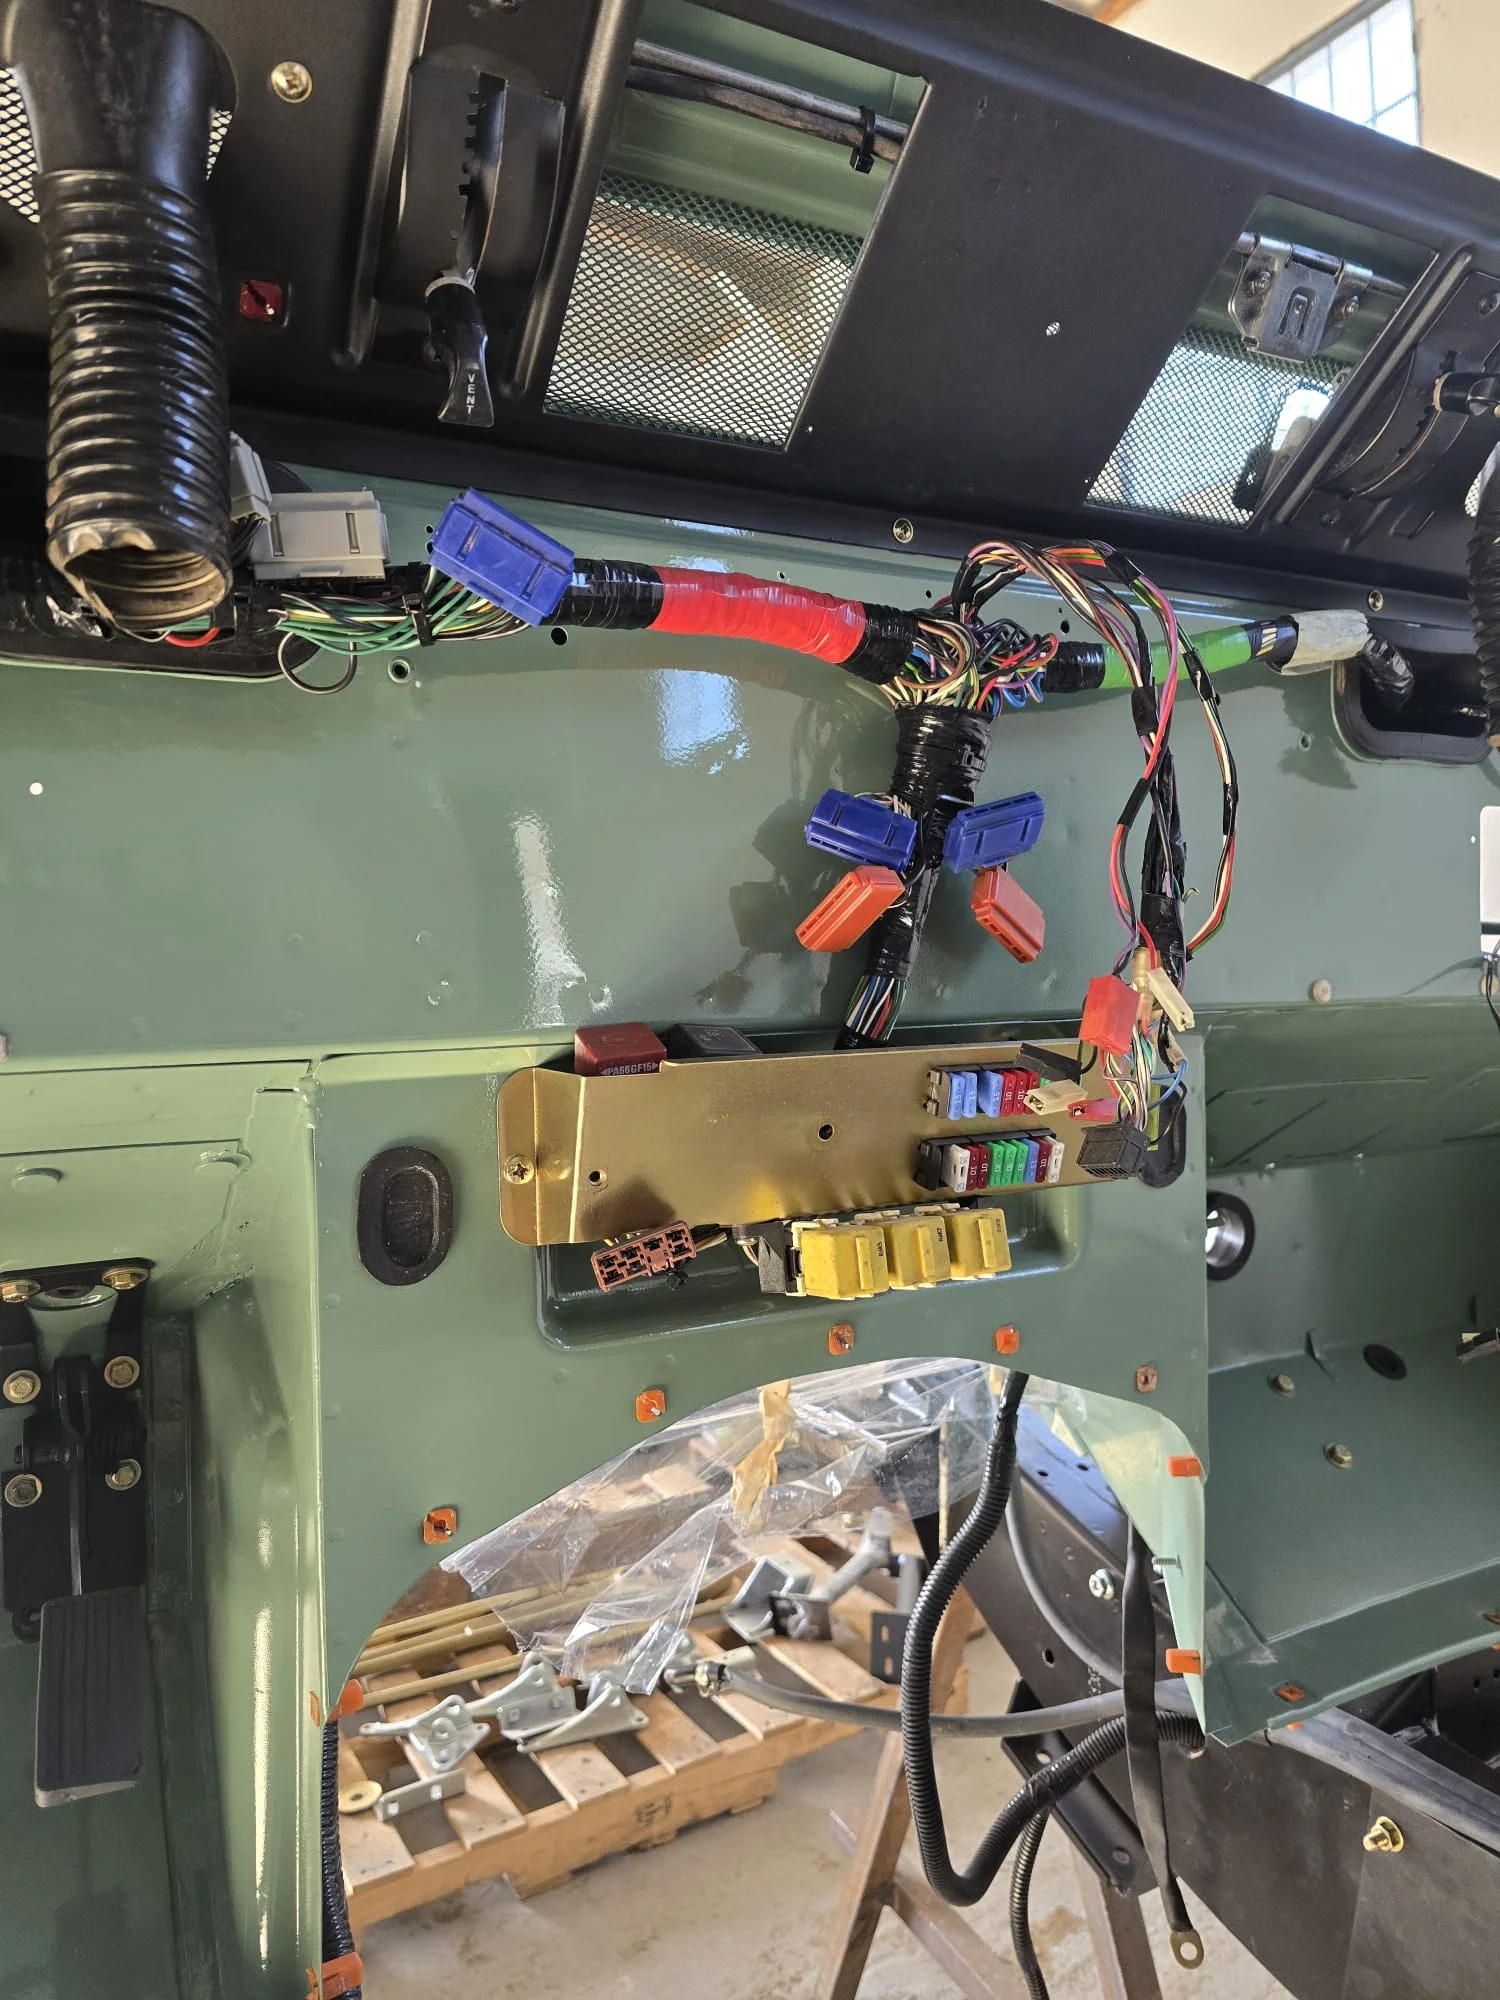
New loom, sealed connectors, dedicated earth returns
The original harness is removed and laid out for full inspection — every circuit is mapped against the Land Rover wiring diagram and tested for continuity, insulation resistance, and correct fusing. On most restorations, the entire harness is replaced with a new loom hand-assembled from OEM-spec TXL automotive wire in the correct gauge and colour code for each circuit. Connectors are replaced with weatherproof Deutsch or equivalent sealed connectors rated for automotive environments. The fuse box is upgraded to a blade-type panel with individually labelled circuits, dramatically simplifying future diagnostics. Earth return paths — a primary failure source on classic Land Rovers — are run individually back to a central earth bar on the chassis, eliminating the voltage drop and phantom faults caused by corroded body-earth joints. Modern upgrades are integrated into the new loom from scratch rather than added as afterthought add-ons.
Panel beating, correct metalwork, and professional paintwork
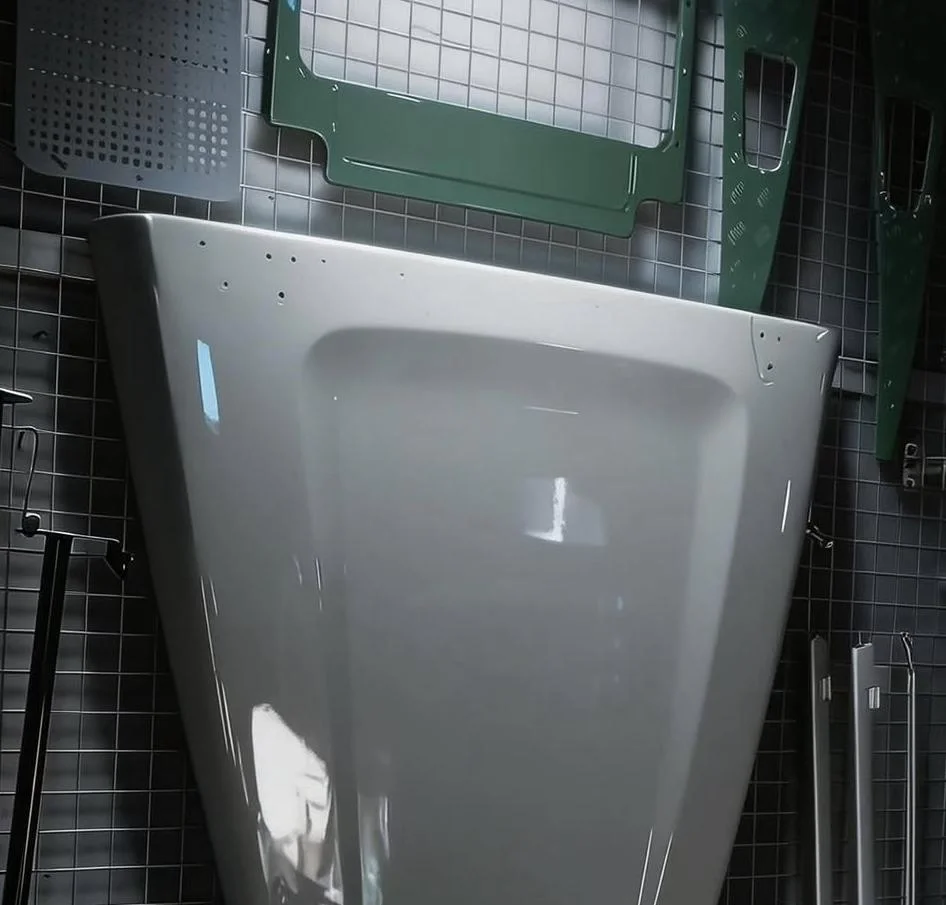
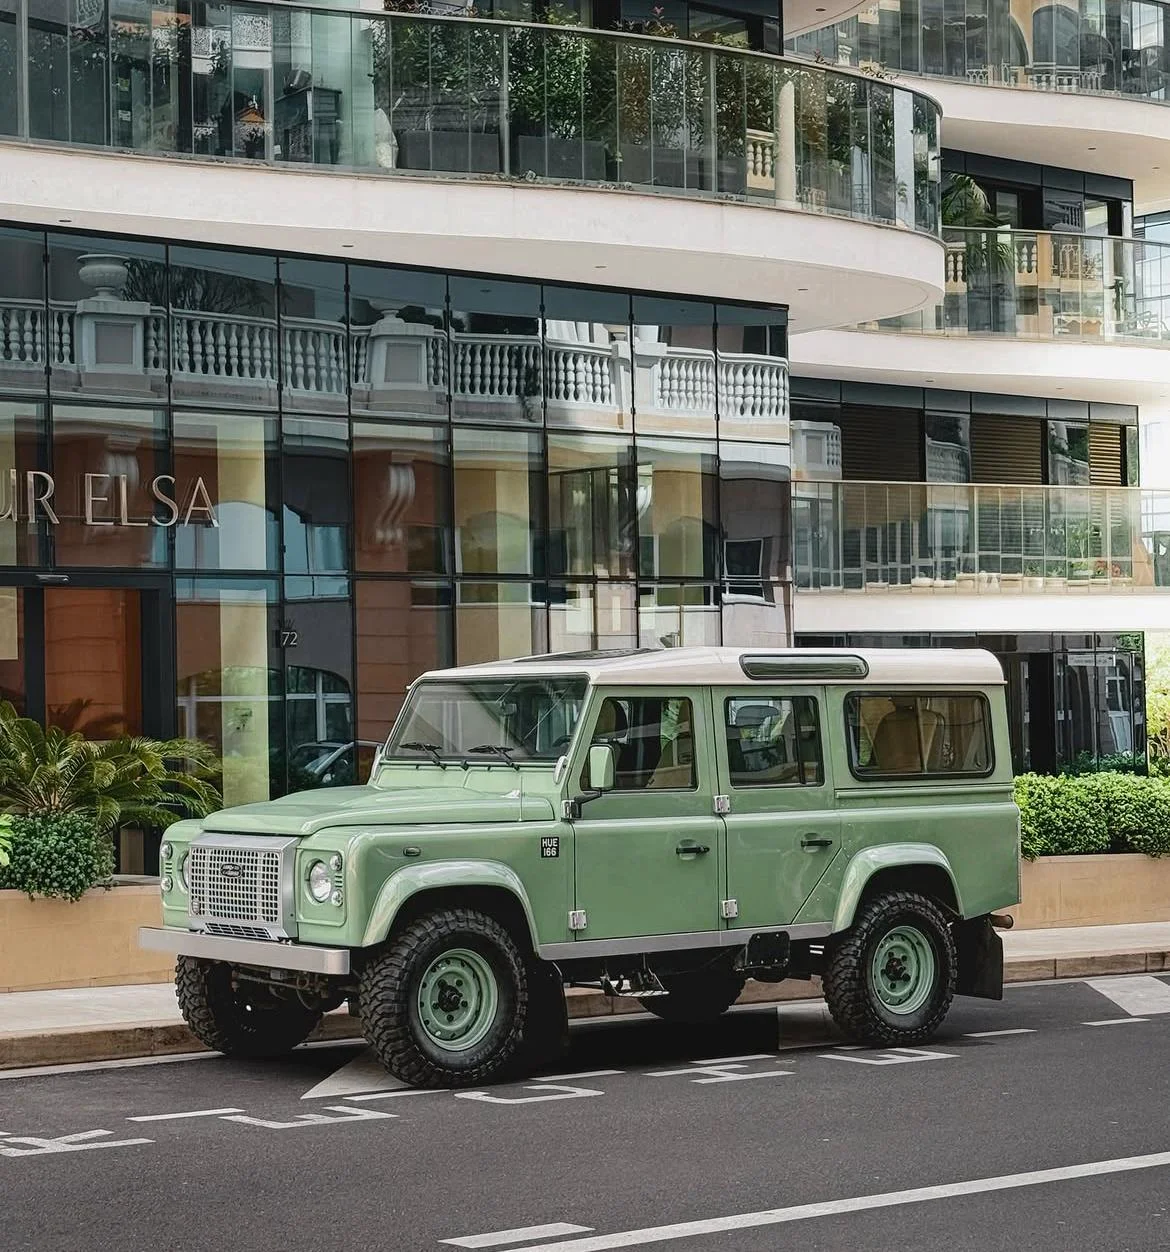
Each aluminium panel — doors, wings, roof, bulkhead, and rear tub — is individually assessed. Deformations are worked out using traditional panel-beating techniques with slapping files and body hammers on a shot-bag: no filler is applied to structural aluminium panels. Panels beyond repair are replaced with new-old-stock or quality reproduction pieces. The bulkhead, typically the most corrosion-prone assembly on any Defender, receives particular attention: rust at the windscreen rail, footwell corners, and heater aperture is fully cut out and replaced with new-gauge steel, properly welded and treated. Once panels are straight, the body is blocked in guide coat to expose any high or low spots before high-build epoxy primer is applied. Final paint is applied in a filtered spray environment: minimum three coats of 2K urethane basecoat and two coats of clear lacquer, achieving a total film thickness above 100 microns.
Custom commission craftsmanship — every surface bespoke
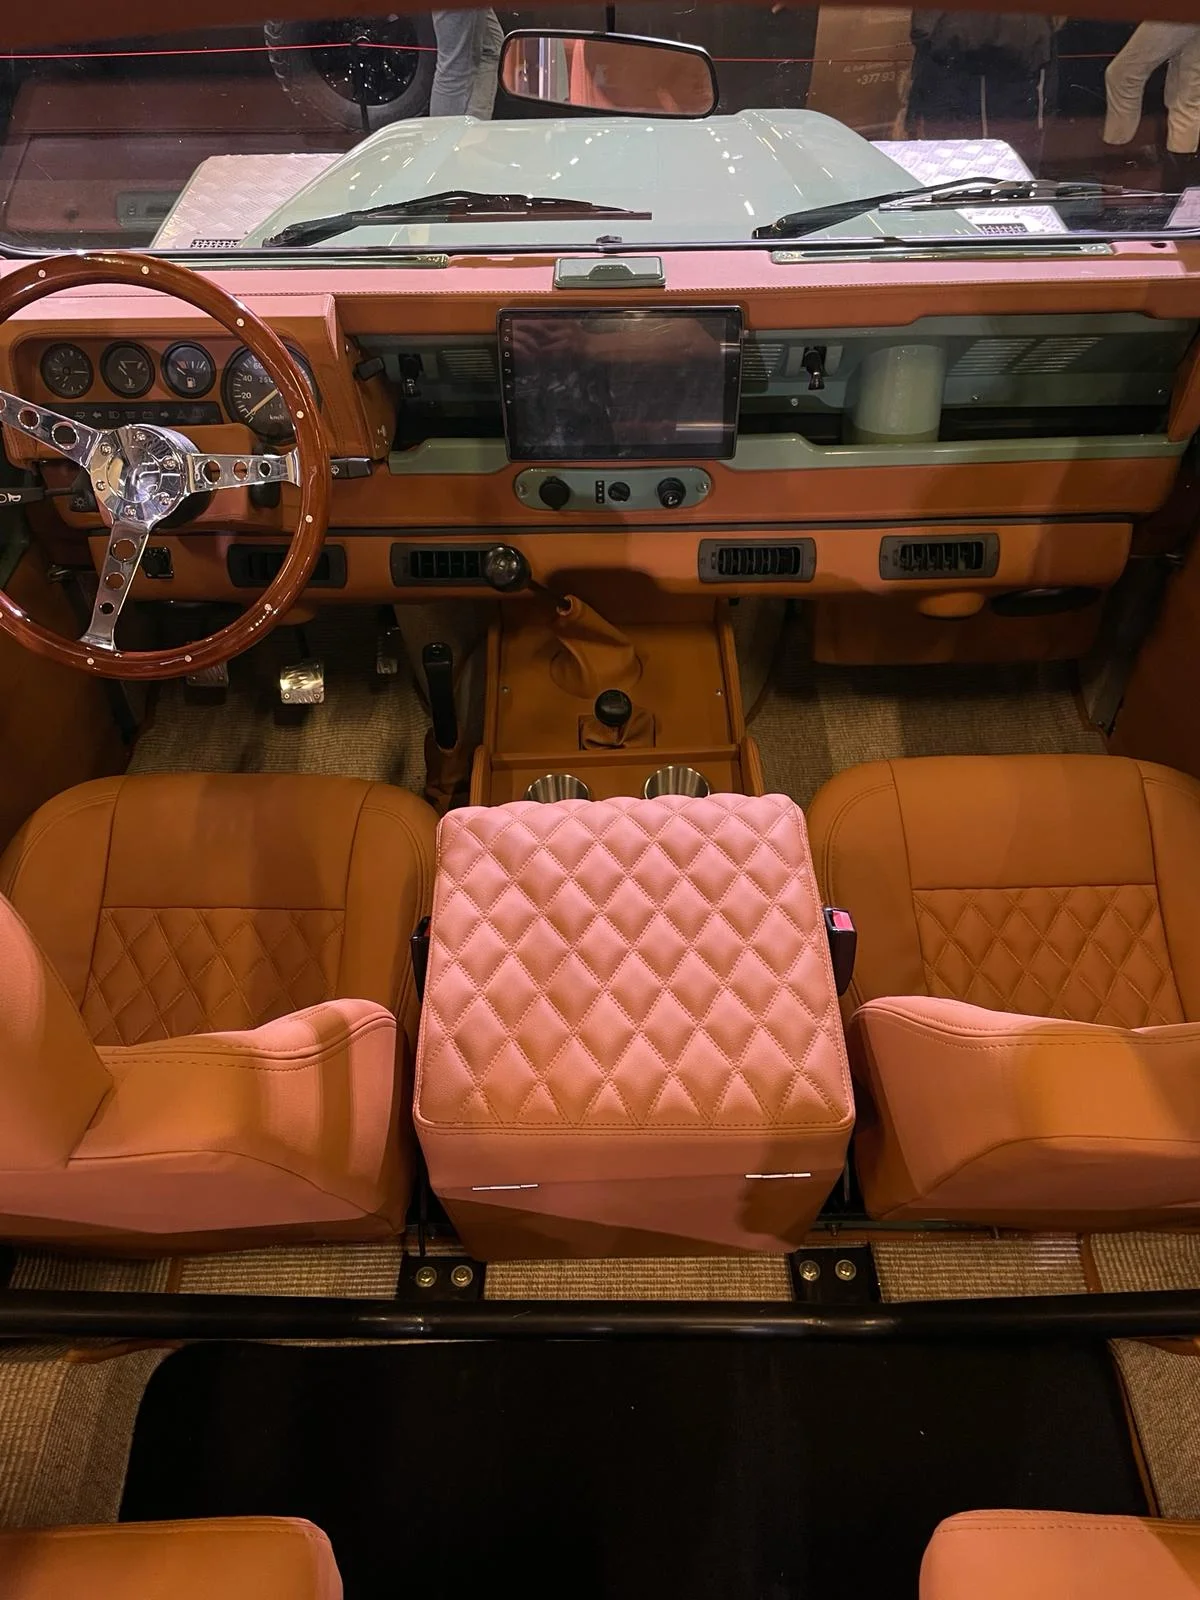
Every interior surface is treated as a custom commission. Door cards, dash panels, consoles, and headlining are fully removed — warped panels reformed or replaced, all fixing points repaired so nothing rattles or flexes in the finished interior. Seat frames are blasted, treated, and powder-coated before new foam is profiled: HR35 high-resilience foam for bases, HR28 for backs, with memory foam inserts available. Leather is sourced from European tanneries in a range of thicknesses and finishes — full-grain, semi-aniline, or corrected grain depending on the durability required for each surface. All stitching is carried out in-house: saddle stitch, French seam, diamond quilting, and contrast piping are standard capabilities. Headlining is trimmed in Alcantara or perforated leather bonded to acoustic-grade backing board. Carpets are cut from moulded automotive-grade sets and fitted over a full layer of mass-loaded vinyl for noise isolation.
Signed-off checklist at every stage, road-tested before delivery
Reassembly follows a strictly controlled sequence with a signed-off inspection at each stage:
The vehicle is then detailed, fully photographed, and a complete build record — part numbers, fluid specifications, and all measurement data — is handed to the owner.
Integrated from the ground up — never retrofitted
The following upgrades are specified and integrated during the build, not bolted on afterward:
The list goes on — feel free to contact us to discuss your project. We tailor every restoration to your intended use and preferences.